
How to Replace Water Filter — A Complete Step-by-Step Guide
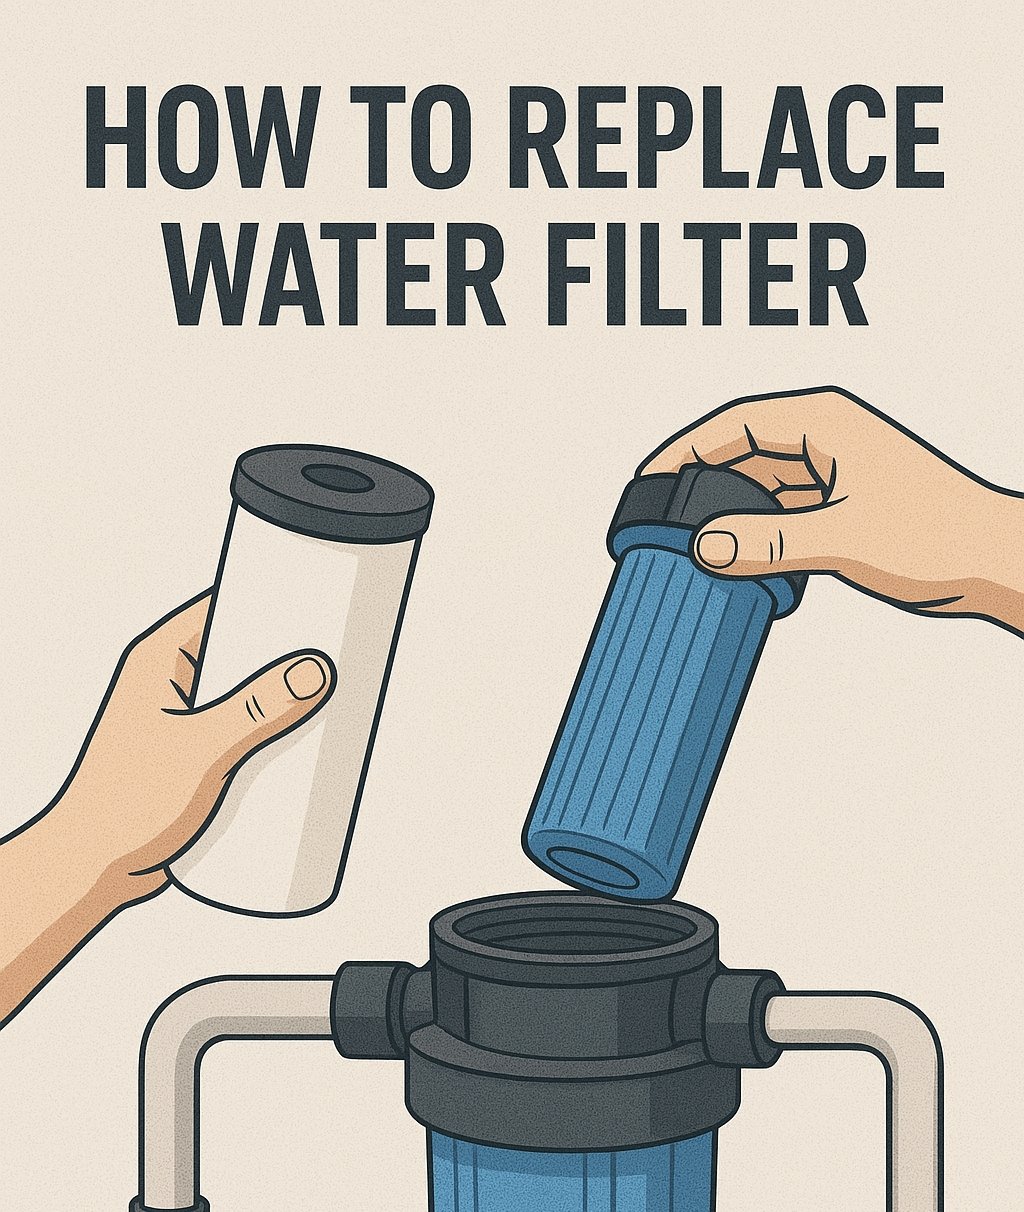
How to replace water filter is one of the most searched and practical questions for homeowners and facility managers. Replacing filters on time keeps water tasting fresh, protects appliances, maintains flow, and prevents bacterial buildup. This longform guide covers everything you need: indicators for replacement, tools and supplies, step-by-step instructions for common filter types (pitcher, faucet, under-sink cartridge, inline, whole-house housings, and RO systems), troubleshooting, safe disposal and recycling, inventory strategy, and tips to extend filter life.
Why timely replacement matters
Replacing filters on schedule matters for three reasons: water quality, equipment protection, and system performance.
- Water quality. Spent filters become less effective and can leach trapped particulates or retain microbes. Timely replacement ensures contaminants are removed consistently.
- Appliance protection. Sediment left in water accelerates wear in valves, pumps, and heating elements. A fresh filter prolongs equipment life.
- System performance. Filters clog with use; when that happens, water flow drops and pressure can fall across the system. Replacing filters restores designed flow and pressure.
Ignoring replacement intervals typically increases total operating cost because of appliance repairs, higher maintenance, and possible health concerns.
Common signs you need to replace a water filter
Knowing how to replace water filter begins with recognizing replacement signals. Replace a filter when you notice any of these:
- Reduced flow or pressure at the tap.
- Noticeable change in taste or odor.
- Cloudy or discolored water.
- Visible debris or particles in filtered water.
- Manufacturer’s recommended time interval reached (calendar reminder).
- Alarms from monitoring devices such as differential pressure gauges or TDS meters.
- After a known contamination event (mainline work, heavy rains, well disturbance).
If multiple signs appear, replace the filter immediately rather than waiting for the next scheduled interval.
Types of water filters and how replacement differs
Different filter types require distinct replacement steps. Below are the common categories and what to expect when it’s time to replace them.
Pitcher filters
Portable, simple devices with a single replaceable cartridge. Replacement is usually twist/pull out and push in. No plumbing required.
Faucet-mount filters
Attach to a faucet aerator or via a diverter. Cartridges are often in a small housing that opens by hand or with a small tool.
Under-sink cartridge systems
Installed under cabinets; cartridges sit in housings that open with a wrench. These may be single-cartridge or multi-stage systems (sediment, carbon, post-filters).
Inline filters
Small cartridges installed inline to feed appliances (refrigerator, ice maker). They have quick-connect fittings or threaded ends.
Whole-house housings
Large housings at the main inlet, often 10″ or 20″ cartridges or big blue cartridges. May use a housing wrench and require shutoff at the main.
Reverse osmosis (RO) systems
Multi-stage under-sink systems with prefilters, membrane, and postfilters. Prefilters and postfilters are replaced periodically; membranes less frequently.
Water softeners and media tanks
Softener resin is regenerated, not replaced like a cartridge. Some systems include media that eventually require replacement or replenishment (e.g., KDF, catalytic carbon).
Understanding your filter type prevents mistakes during replacement and ensures you have correct spare parts.
Tools and supplies you’ll commonly need
Before you start, gather these items. Having everything ready shortens downtime and prevents mistakes.
- Replacement filter cartridge(s) matching model and micron rating.
- Housing wrench (often supplied with system).
- Adjustable wrench or channel locks for valve fittings.
- Towel or bucket to catch water drips.
- Food-grade silicone grease for O-rings.
- New O-ring(s) if older or damaged.
- Screwdriver set for faucet adapters or bracket screws.
- Clean gloves and safety glasses.
- Flashlight for tight under-sink spaces.
- TDS meter or faucet test strips (optional) for verification.
- Marker or label for writing replacement date.
- Small brush or cloth to clean housing interior.
If replacing RO membranes, also consider a membrane wrench or follow the manufacturer’s extraction method.
Safety and preparation steps
Before you begin any replacement, follow these safety measures:
- Shut off water to the filter system at the dedicated shutoff or main service valve. If you cannot isolate the filter, shut off the house water.
- Relieve pressure by opening a downstream tap. This prevents sprays when opening housings.
- Turn off power to any pumps or UV lights in the system. For UV, allow the lamp to cool before handling.
- Place towels and a bucket under housings to capture water.
- Check for electrical proximity. Avoid water near outlets; if necessary, switch off power at the breaker.
- Wear gloves and eye protection if the housing contains contaminants.
Proper preparation reduces mess, avoids damage, and protects you.
How to replace a pitcher filter — step-by-step
Pitcher replacements are the simplest:
- Remove the old cartridge per manufacturer instructions (usually pull up and out).
- Unwrap the new cartridge and soak it in cold water if recommended (some brands require pre-soak).
- Insert the cartridge into the pitcher reservoir, pressing until seated.
- Fill and discard the first one or two pitchers of water as instructed to flush fines.
- Mark the replacement date on the pitcher.
Always follow brand-specific guidance for flush volumes.
How to replace a faucet-mount filter
Faucet filters vary, but general steps are:
- Remove the filter head from the faucet. If the filter is a diverter style, flip or depress the diverter to bypass water.
- Open the housing — typically a twist or latch.
- Remove old cartridge and install the new one in correct orientation.
- Close the housing until latched or threaded tight. Do not over-tighten plastic threads.
- Run water through the filter for several minutes to flush and check for leaks.
- Reinstall the faucet adapter and confirm normal flow.
If flow is low, check for clogged aerator or misaligned O-ring.
How to replace an inline filter (fridge/ice maker)
Inline filter changes often use quick-connect fittings:
- Shut off the appliance water feed (valve behind fridge).
- Place a towel under the filter to catch water.
- Release quick-connect fitting by pushing the collar, then pull tubing free. For threaded fittings, use a wrench.
- Remove old cartridge; insert new cartridge into bracket or mount.
- Reattach tubing, pushing fully into quick-connect until seated. For threaded fittings, hand-tighten, then quarter turn.
- Open valve and check for leaks. Flush per cartridge instructions.
If tubing is hard or stuck, cut just behind the fitting to get a clean end for reconnection.
How to replace under-sink cartridge filters
Under-sink replacements are common for carbon and sediment cartridges.
- Shut off cold water under sink and open the faucet to relieve pressure.
- Place bucket and towel under filter housings.
- Use housing wrench to loosen the housing; turn counterclockwise. If housings are tight, apply steady pressure—avoid hammering.
- Remove old cartridge and inspect housing for debris. Clean interior with mild soap and water; avoid solvents.
- Inspect O-ring for nicks or flattening; replace if damaged. Apply a thin coat of food-grade silicone grease to O-ring to ensure seal.
- Install new cartridge ensuring it seats correctly on the bottom support.
- Hand-tighten housing and then snug with housing wrench; do not over-torque.
- Slowly open the shutoff valve while inspecting for leaks. Let water run for several minutes to flush the new cartridge.
- Label the housing with the replacement date.
For multi-stage systems, replace stages in sequence as recommended by the manufacturer.
How to replace whole-house filter cartridges (Big Blue and 20″ systems)
Whole-house replacements cover larger cartridges in mainline housings:
- Isolate system by closing inlet and outlet shutoff valves around the housing. If no bypass exists, shut off main water.
- Relieve pressure by opening a faucet.
- Place bucket and open drain if present. Some housings have built-in drain valves that speed draining.
- Use a large housing wrench to open the top—these housings can be very tight. Turning the housing over a rag may help.
- Remove the spent cartridge (may be heavy and saturated). Dispose per local guidelines.
- Inspect the sump and clean out sediment; check the O-ring groove and lubricate a new or existing O-ring.
- Insert new cartridge and ensure correct orientation. For Big Blue housings, seat centrally to avoid bypass.
- Reassemble and hand-tighten, then slowly reintroduce water and check for leaks.
- Backwash or flush if required by system design, and record replacement date.
For whole-house systems with multiple parallel housings, replace one train at a time to maintain supply, or use built-in bypass lines.
How to replace RO prefilters, membrane, and postfilters
RO systems have stages: prefilter(s), membrane, and postfilter(s). The process varies by model but follows a pattern.
Prefilters and postfilters
Replace similarly to under-sink cartridges:
- Turn off feed water and tank valve.
- Open faucet to relieve pressure.
- Remove housings and replace cartridges.
- Reassemble, open feed, and flush per manufacturer.
RO membrane
Membrane replacement steps:
- Turn off feed and close tank valve. Open RO faucet to relieve storage tank pressure.
- Remove membrane housing cap or membrane fitting. Membranes often require a specialized membrane wrench or a push/pull extraction method.
- Slide out old membrane carefully — it may be snug.
- Insert new membrane with the correct O-ring orientation, pushing fully into the membrane housing.
- Reassemble and follow manufacturer flushing instructions. Membrane seating is critical to ensure rejection performance and prevent bypass.
- Check TDS of product water after 24 hours to ensure membrane performance.
Membranes typically last 2–5 years depending on feed water and prefiltration.
Troubleshooting common issues after replacement
Even with proper technique, problems occur. Here’s how to address the most common ones.
- Persistent leak at housing: Check O-ring placement and lubrication. Ensure the housing is seated straight. Replace O-ring if brittle.
- Low flow after replacement: For cartridge systems, check orientation and ensure cartridge not blocked with packaging. For RO, verify feed pressure and tank valve.
- Taste or odor after change: Flush the new cartridge longer—some carbon media release fines initially. If taste persists, inspect postfilter or tank cleanliness.
- Housings too tight: Allow a short soak and use a second wrench on the housing cap to distribute force. Avoid using metal-on-metal impact tools that can crack plastic.
When in doubt, revert to manufacturer support guidance.
Disposal and recycling of spent filters
Proper disposal protects the environment:
- Cartridge dry solids: If filter media trapped non-hazardous sediment, the cartridge can often go to regular waste per local rules.
- Carbon cartridges: Contain activated carbon; check local recycling or waste facility acceptance—some facilities accept them as non-hazardous household waste.
- RO membranes: Treat as plastic waste; some manufacturers offer take-back programs.
- Contaminated cartridges (lead, oil): If filters were used to remove hazardous contaminants, follow local hazardous waste disposal rules.
Consider bulk recycling programs and vendors that accept used cartridges. Reducing packaging and buying bulk replacements can also reduce waste.
How to choose and stock replacement filters
An inventory strategy keeps systems reliable:
- Track usage. Record replacement dates and number of cartridges used per period to forecast needs.
- Stock essential spares. Keep at least two complete sets for under-sink and point-of-use systems, and 2–4 cartridges for whole-house systems depending on lead times.
- Buy from reputable suppliers. Confirm model numbers and micron ratings. OEM or compatible high-quality alternatives are acceptable if dimensions and performance match.
- Label spares with receive date to rotate stock and prevent long storage degradation.
- Consider subscription plans for automatic delivery aligned with your replacement schedule.
A small upfront inventory prevents service interruptions.
Tips to extend filter life
You can extend filter life without compromising performance:
- Install a coarse sediment prefilter upstream of finer cartridges.
- Maintain consistent water pressure—extreme pressure surges can push debris into housings.
- Keep housings and O-rings clean to avoid premature wear.
- Flush new cartridges thoroughly to remove fines and condition media.
- Address source water issues: if well water is dirty after storms, change filters sooner.
Extending service intervals should never replace testing and monitoring.
Cost considerations and budgeting
Budget for replacement costs as part of total ownership:
- Pitcher and faucet filters: low unit cost but frequent replacement.
- Under-sink cartridges: moderate cost with higher life span.
- Whole-house cartridges: higher per item cost but lower frequency when Big Blue sizes are used.
- RO membranes and specialty media: higher upfront and longer intervals.
Estimate annual replacement cost by counting average replacements per year across all devices and multiplying by unit cost; add 10–20% for unforeseen changes.
Final thoughts
Knowing how to replace water filter correctly saves time, money, and worry. Whether you’re dealing with a simple pitcher, a point-of-use under-sink RO, or a large whole-house cartridge, preparation, the right tools, and a scheduled replacement plan make the task straightforward. Keep spares on hand, track replacements, and use monitoring where possible to transform a reactive chore into a predictable maintenance routine. Clean, reliable water is the reward for consistent, informed upkeep.